Strategy guide
Your first win, in five decisions
Knowing the rules and knowing what to do with them are different things. This guide follows one real match, won in round 19, and picks out the five decisions that won it, with the round each one happened.
Dominex is inspired by the territory-and-upkeep rules of Sean O’Connor’s Slay. The same strategy applies, but the examples use Dominex’s rules; see where they differ. New to the rules? See how a turn works first.
- Map
- Longwake, a free Core map of 124 hexes.
- Players
- A person playing green, against five computers on Legend, the hardest of four levels.
- Result
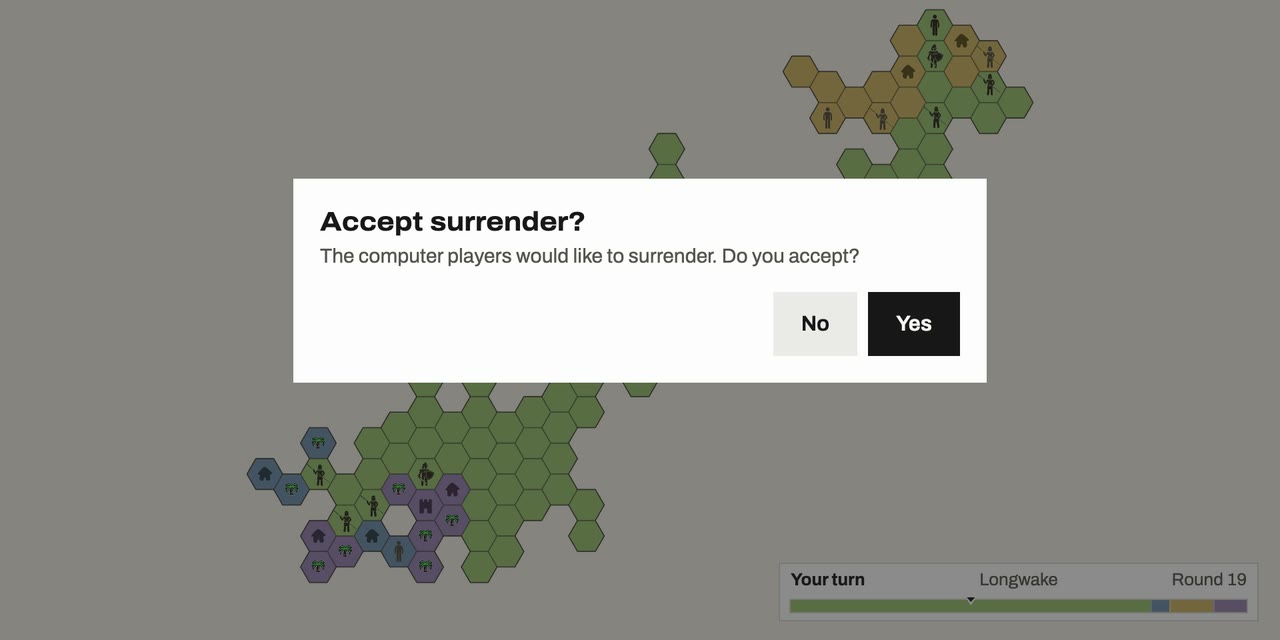
- The computers offered to surrender in round 19, with green holding 98 of 124 hexes.
Decision 1 · Rounds 1–3
Grab land and join up
Green began with four small kingdoms of two to four hexes, plus a few lone hexes that belonged to no kingdom. Each kingdom had its own treasury, and two of them held 5 gold, not enough for a 10-gold Villager.
So the opening was about land. Green bought three Villagers in round 1, each straight onto a rival’s hex. Round 2’s first capture joined two of them, and when kingdoms join, their gold goes into one treasury. By round 3 green had a kingdom of 13 hexes, and from round 7 all of its land was one kingdom.
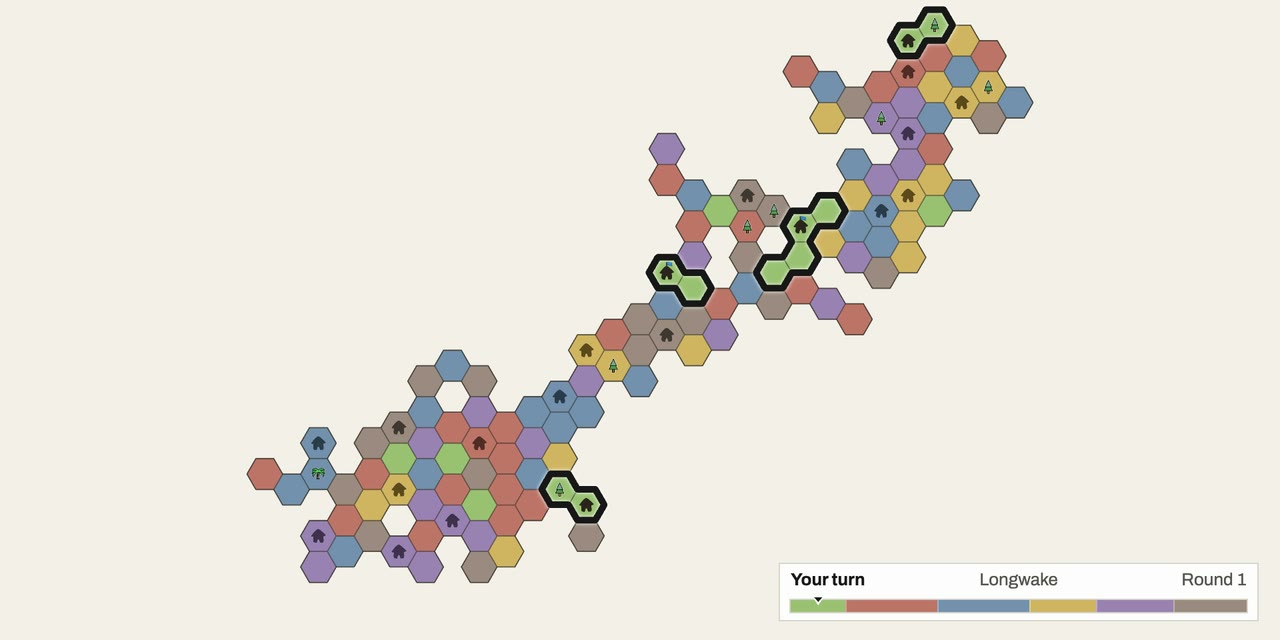
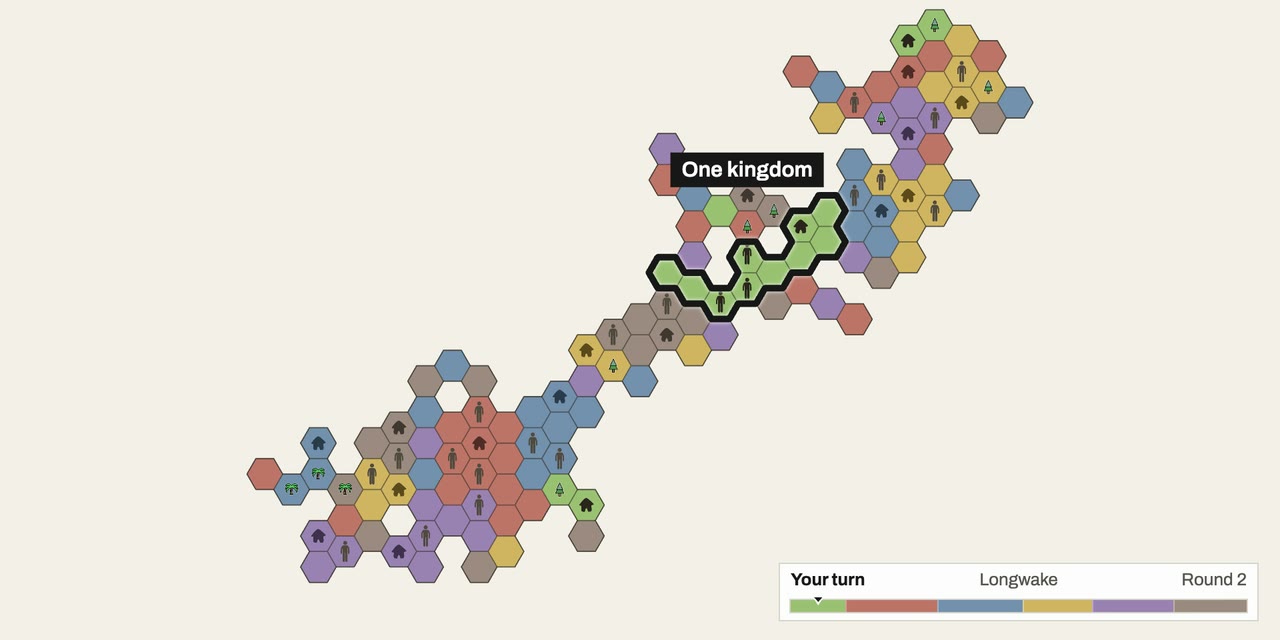
Small kingdoms can’t afford much. Join them, and one treasury pays for everything.
Watch it at 0:17Decision 2 · Rounds 4 and 12
Upgrade only what the land pays for
Every hex earns 1 gold a turn, and every unit costs upkeep: 2 for a Villager, 6 for a Spearman, 18 for a Knight, and 54 for a Baron. In round 4 green combined four Villagers into two Spearmen, raising its upkeep from 8 to 12 in a kingdom earning 18.
Then it kept its army small. From round 4 to round 12, green’s land grew from 19 hexes to 40 with never more than five units. Its first Knight came in round 12, from a Spearman and a Villager, when its kingdom earned 40 a turn and had 58 gold saved. It won without ever making a Baron.
At the end of every one of green’s turns, each of its kingdoms earned at least as much as its army cost.
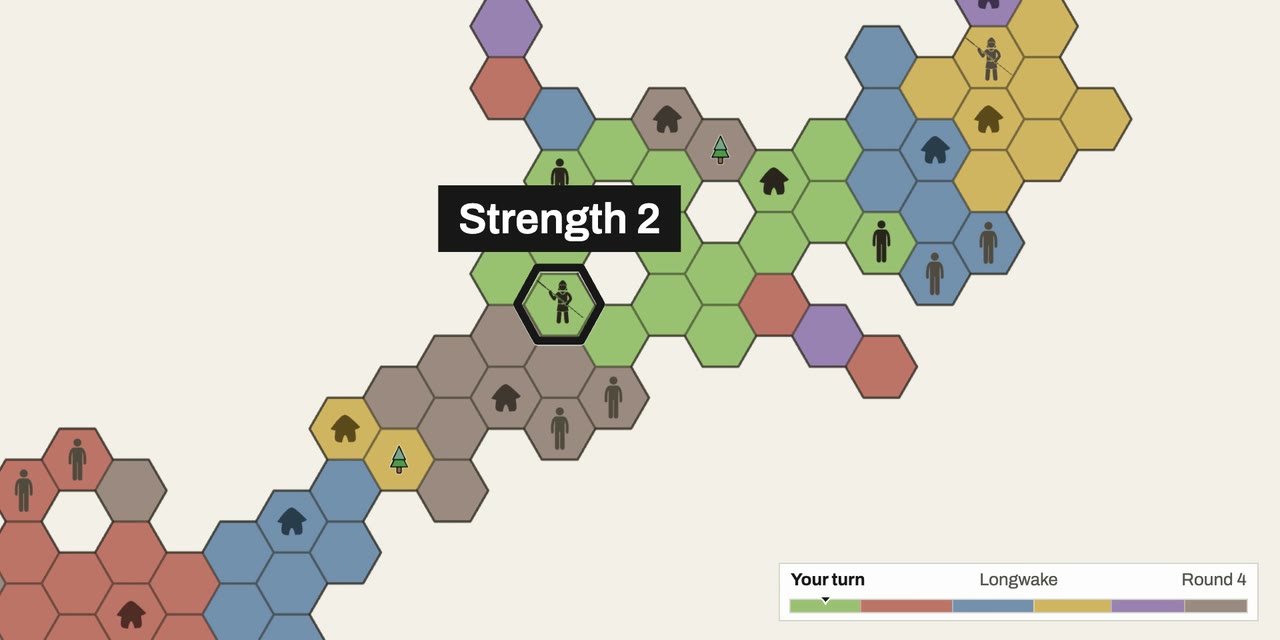
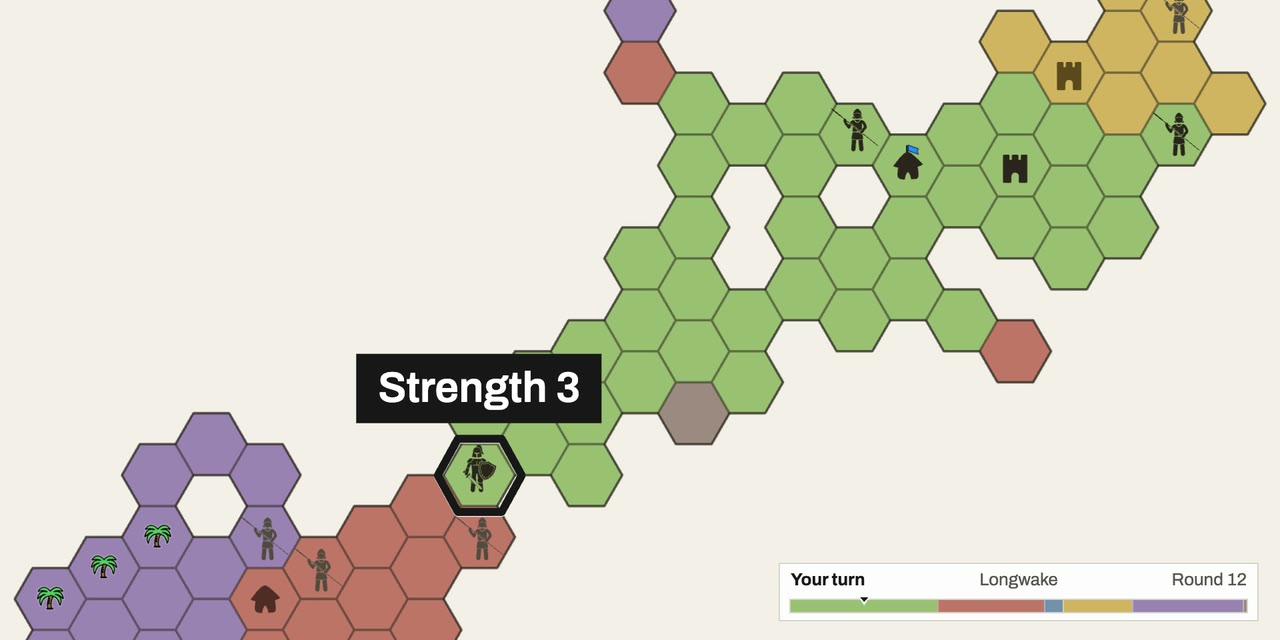
Land first, strength second. A unit your land can’t pay for is a loan, not an army.
Decision 3 · Rounds 4–14
Grow on the weakest neighbours
Red was the biggest rival from round 2 to round 9. Green left it alone. Of the 27 hexes green took in rounds 4 to 11, 22 came from gray and blue, and red lost just one.
By round 10 green held 32 of the 124 hexes, more than anyone. Only then did it turn on red: in rounds 12 to 14, 16 of the 20 hexes green took were red’s.
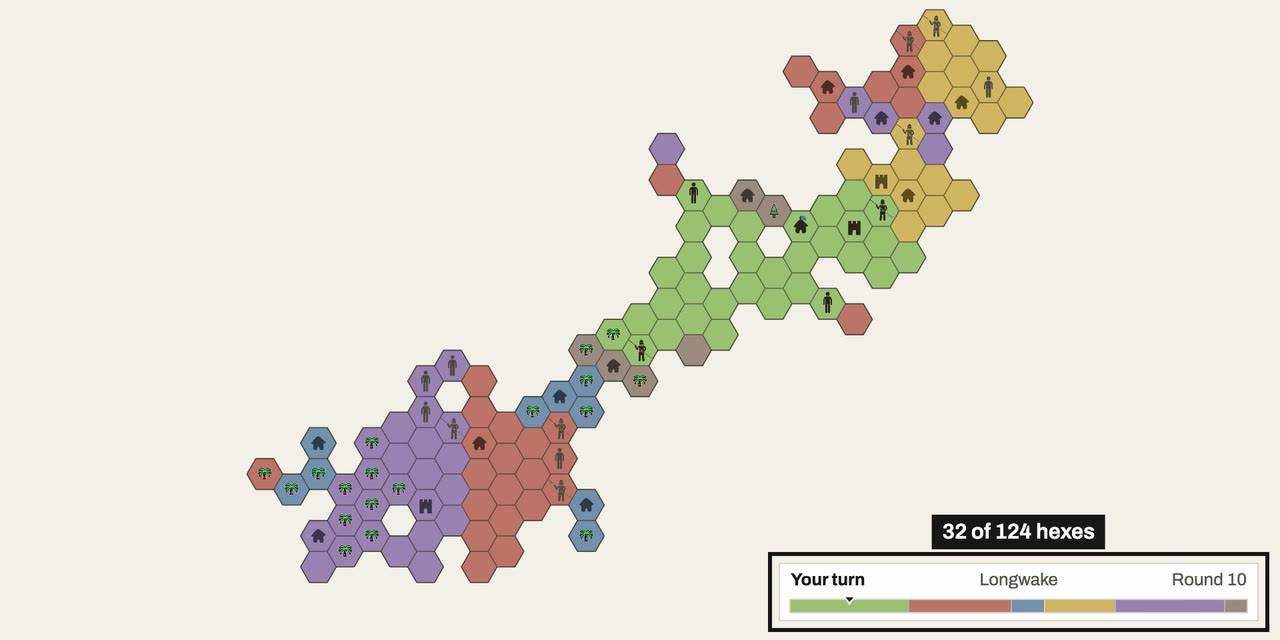
Take land where it’s cheap, and fight the strongest rival once you’re bigger.
Watch it at 0:53Decision 4 · Rounds 6 and 14
Cut instead of fighting
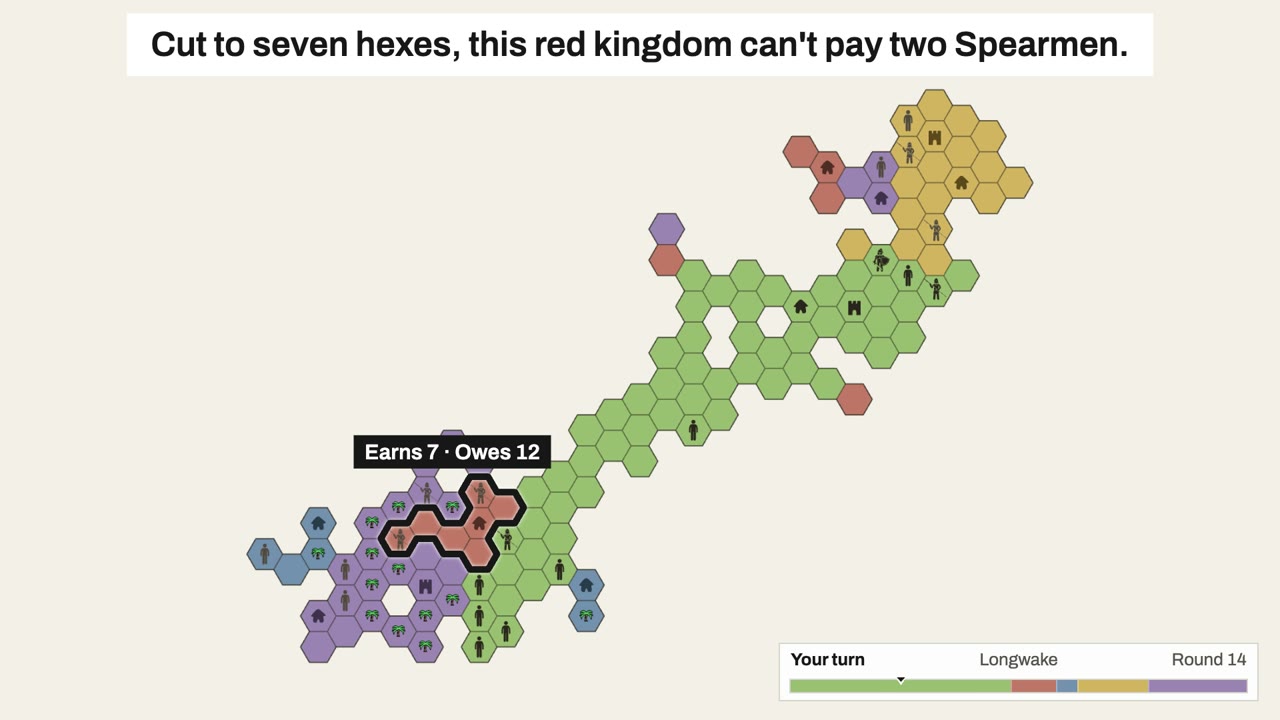
In round 6 green took gray’s capital. The six hexes it left behind became a new kingdom with 0 gold. One held a palm, which earns nothing, so it earned 5 a turn against its Spearman’s 6. On gray’s turn, the Spearman starved.
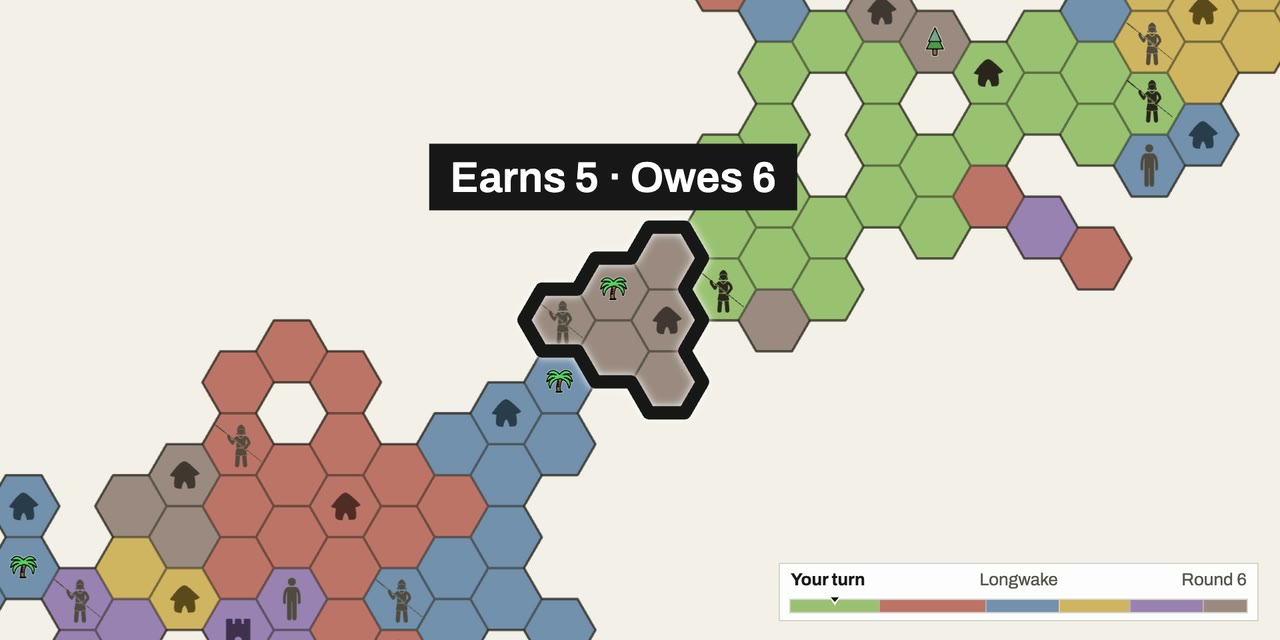
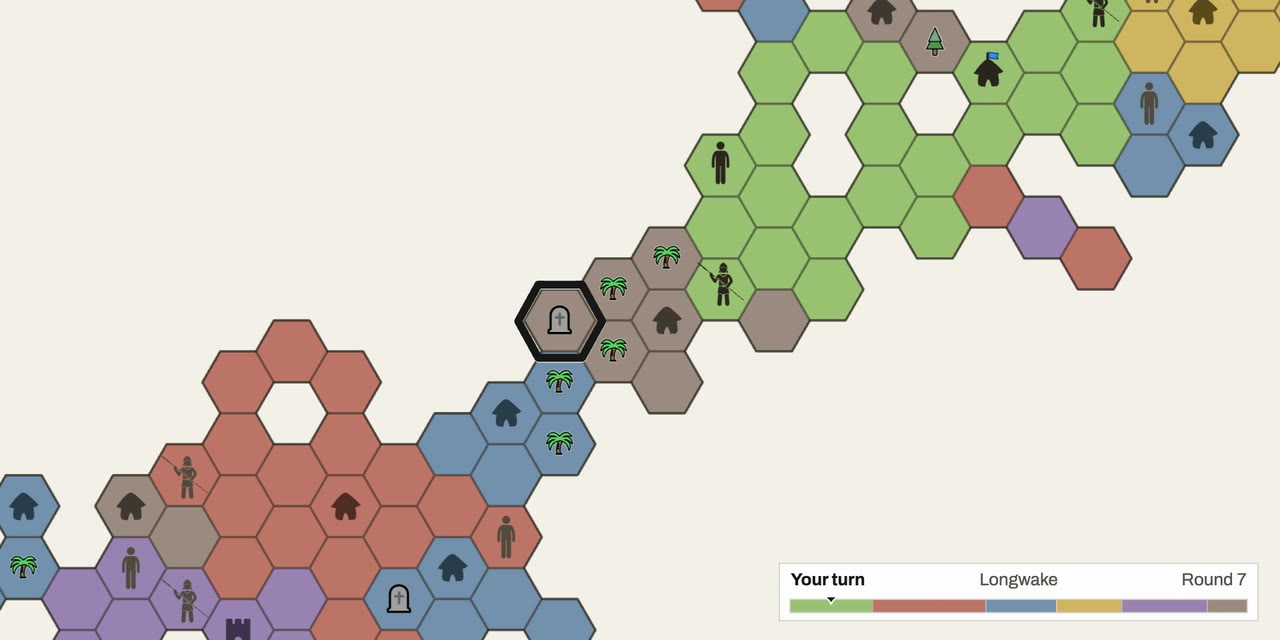
Round 14 did the same to red on a bigger scale. When the round began, red’s main kingdom could pay its army. Green’s moves cut it to seven hexes earning 7, against two Spearmen costing 12. On red’s turn, both starved.
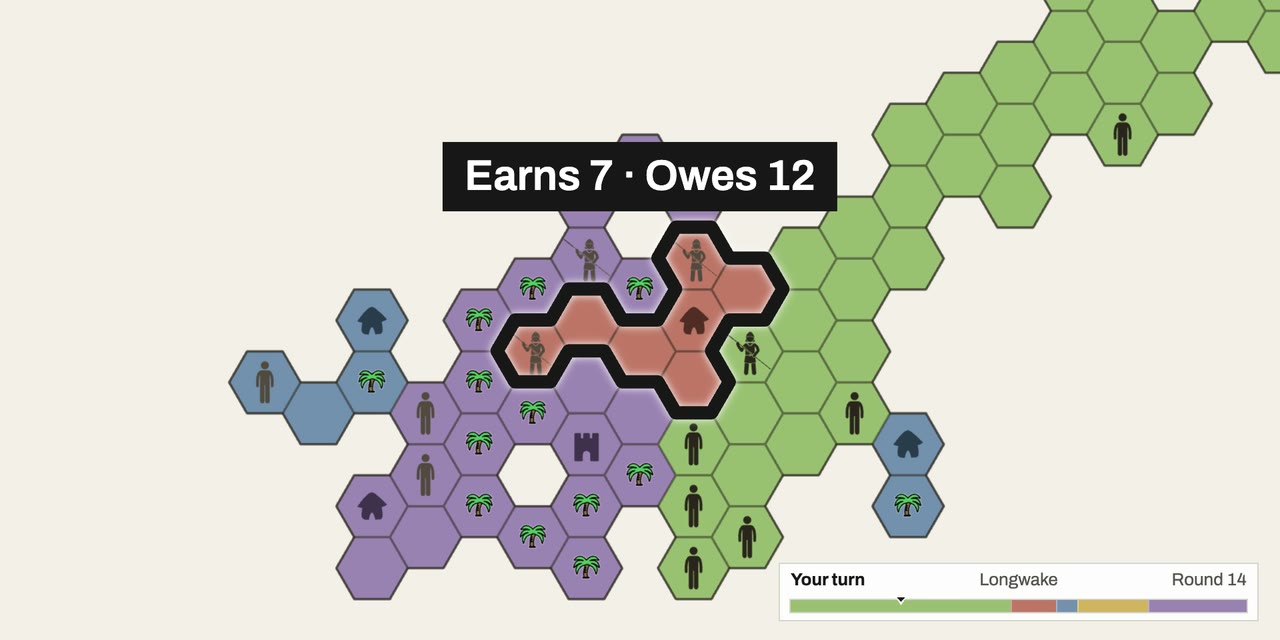
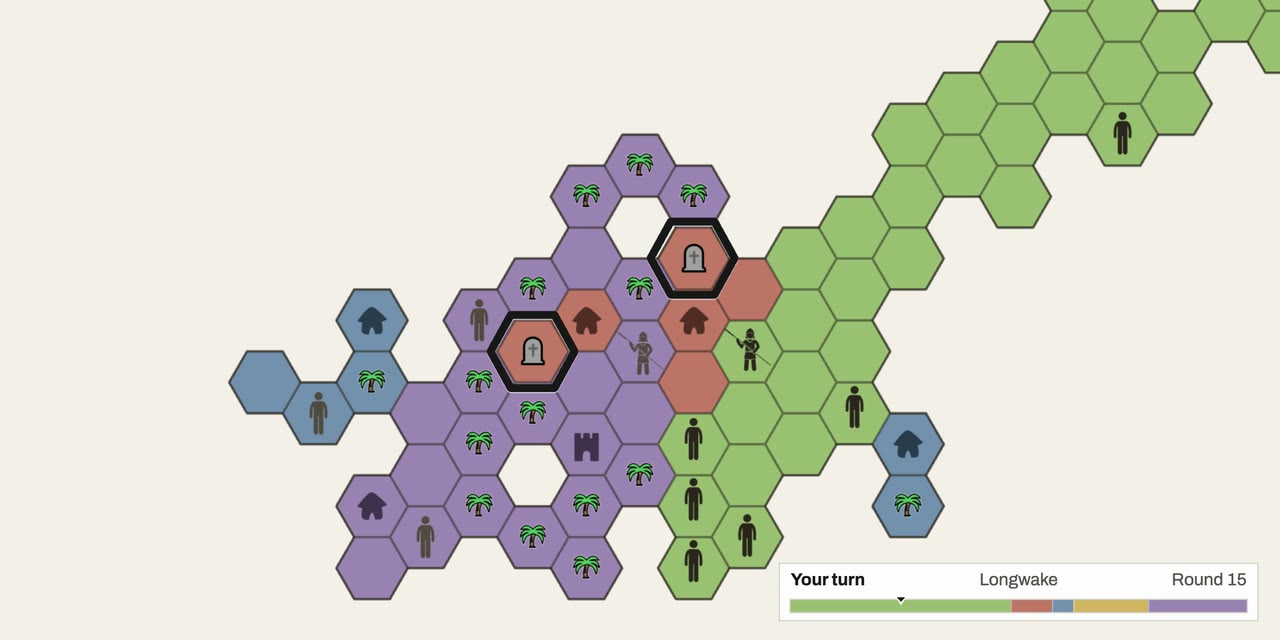
Before you attack an army, check whether you can starve it. The cut is often cheaper than the fight.
Decision 5 · Rounds 17–19
Take the gold, then the surrender
A capital holds its kingdom’s gold, and capturing it destroys the lot. In round 17 green took yellow’s capital and the 7 gold in it. Yellow’s land got a new capital with 0 gold, so it had to rebuild its treasury from scratch.
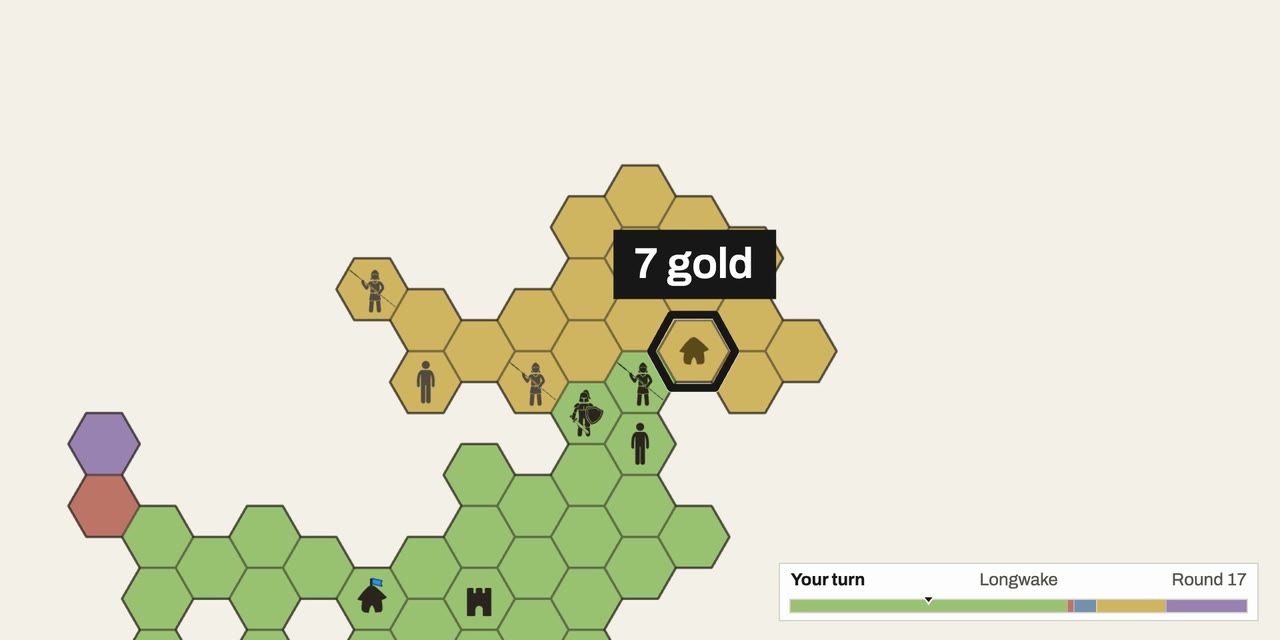
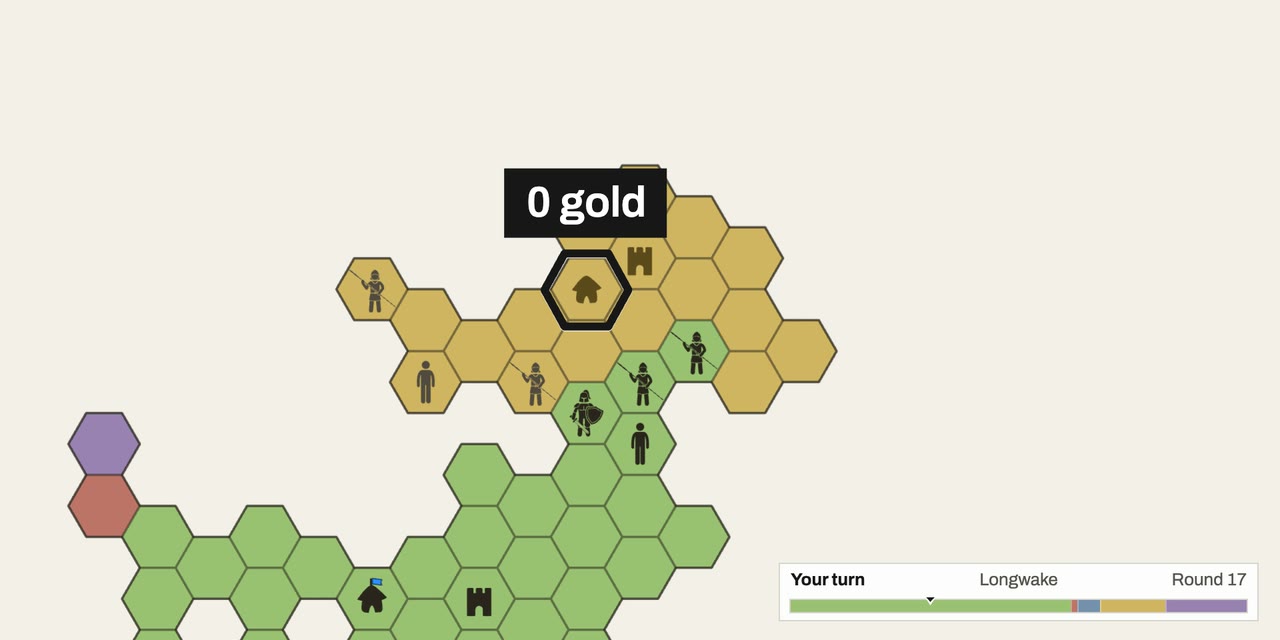
Red was out in round 18. Once you hold more than 75% of the land, the computers may offer to surrender. In round 19 green held 98 of 124 hexes, and when it ended its turn they did. You can accept, or say No and play on to take every hex.
Your turn
Your first match
The decisions carry over to any map. The targets don’t: on another board the weak neighbour and the hex that holds a kingdom together will be somewhere else.
-
1
Start on Casual.The app suggests Stonefold on Casual for a first match. Each level lets the computers make more of their attacks, so step up one level at a time.
-
2
Spend early gold on land.A Villager can be bought straight onto an undefended border hex. Aim for the hexes that join your kingdoms.
-
3
Check the books before you upgrade.Tap a kingdom’s gold to see its income and upkeep. The game warns you before you end a turn with a kingdom that can’t pay.
-
4
Guard the links that hold you together.Each unit defends the hexes around it at its own strength, a capital at 1, and a castle at 2. Keep one beside any hex whose loss would split your kingdom.
-
5
Find the weakest neighbour.The territory bar shows everyone’s share of the land. Tap a rival kingdom to read its gold, income, and upkeep.
Play your first match
Four Core maps, one daily map, and every difficulty level are free. No ads. No account or card required.